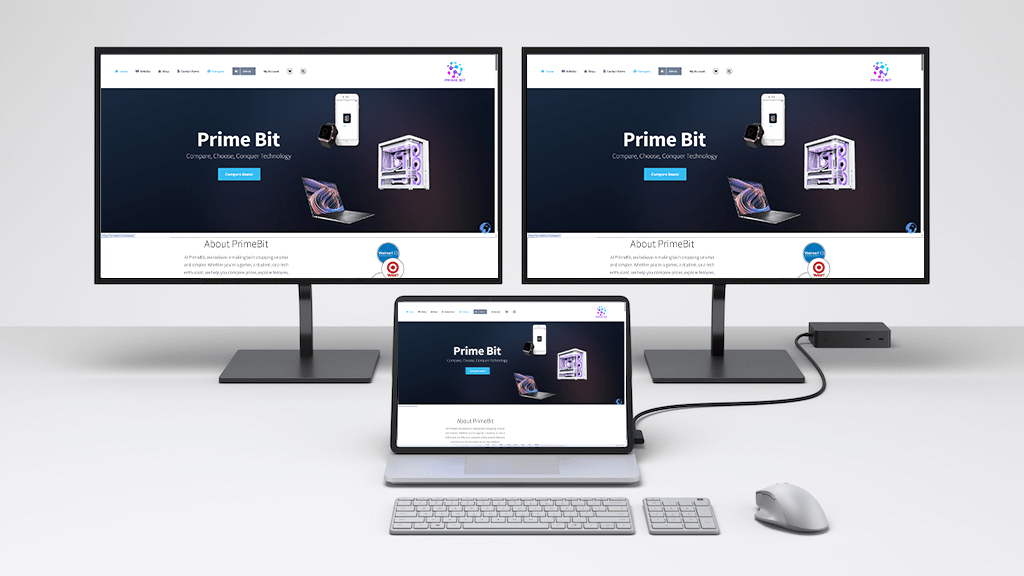
Setting up a multi-monitor workstation can significantly enhance productivity, streamline workflows, and provide a more immersive computing experience. This comprehensive guide will walk you through the essential steps to design and implement an efficient multi-monitor setup tailored to your needs.
1. Benefits of a Multi-Monitor Setup
Before diving into the setup process, it’s important to understand the advantages of using multiple monitors:
-
Increased Productivity: Studies have shown that multi-monitor configurations can boost productivity by 50-70%, as they allow for better multitasking and reduced time switching between applications.
-
Enhanced Ergonomics: Properly positioned monitors can reduce neck and eye strain, leading to a more comfortable working environment.
-
Improved Workflow: Simultaneously viewing multiple applications or documents can streamline tasks such as coding, design, data analysis, and content creation.
2. Assessing Your Needs
Identify the primary purpose of your multi-monitor setup:
-
Professional Use: Tasks like video editing, graphic design, financial analysis, or programming may require specific monitor features such as color accuracy or high refresh rates.
-
Gaming: Gamers might prioritize monitors with low response times and high refresh rates to ensure smooth gameplay.
-
General Productivity: For everyday tasks like browsing, document editing, or media consumption, standard monitors should suffice.
3. Choosing the Right Monitors
Consider the following factors when selecting monitors:
-
Size and Resolution: Ensure that the monitors are of appropriate size and resolution for your workspace and tasks. Common configurations include dual 24-inch monitors or a combination of a larger primary monitor with a smaller secondary one.
-
Panel Type: IPS panels offer better color accuracy and viewing angles, while TN panels provide faster response times.
-
Connectivity: Verify that your monitors have compatible ports (HDMI, DisplayPort, USB-C) with your computer’s graphics card.
-
Ergonomics: Monitors with adjustable stands allow for better positioning to reduce strain.
4. Ensuring Compatibility
-
Graphics Card: Check if your graphics card supports multiple monitors and has the necessary ports. Some cards may require adapters or additional configuration.
-
Operating System: Modern operating systems like Windows, macOS, and Linux support multi-monitor setups, but it’s advisable to verify specific capabilities related to your OS version.
5. Physical Setup
-
Desk Space: Ensure your desk can accommodate multiple monitors. A desk width of at least 150 cm (approximately 60 inches) is recommended for dual monitors.
-
Monitor Placement: Position monitors at eye level, about an arm’s length away, to maintain ergonomic posture. Align them horizontally or in a curved arrangement based on personal preference.
-
Mounting Options: Consider using monitor arms or stands to free up desk space and allow for flexible positioning.
6. Connecting the Monitors
-
Power Off Devices: Before connecting, ensure all devices are powered off to prevent any electrical issues.
-
Cable Management: Use appropriate cables to connect each monitor to the computer’s graphics card. Secure connections to prevent signal loss.
-
Power On: Once connected, power on the monitors and then the computer.
7. Configuring Display Settings
-
Windows:
- Right-click on the desktop and select “Display settings.”
- Under “Multiple displays,” choose “Extend these displays.”
- Arrange the monitor icons to match their physical layout.
- Set the primary display by selecting the desired monitor and checking “Make this my main display.”
-
macOS:
- Navigate to “System Preferences” > “Displays.”
- Click the “Arrangement” tab.
- Drag and drop the displays to match their physical arrangement.
- To set the primary display, drag the menu bar to the desired monitor.
8. Optimizing Ergonomics
-
Monitor Height: The top of each screen should be at or slightly below eye level to prevent neck strain.
-
Viewing Distance: Maintain a distance of about 20-30 inches (50-75 cm) from the monitors.
-
Angle: Tilt monitors slightly upward and angle them inward to create a comfortable viewing arc.
-
Lighting: Ensure proper ambient lighting to reduce glare and eye strain.
9. Software Tools
Utilize software to enhance your multi-monitor experience:
-
Display Management: Tools like DisplayFusion or UltraMon offer advanced features such as taskbar extensions and customizable hotkeys.
-
Virtual Desktops: Operating systems often have built-in virtual desktop features to organize open applications across multiple screens.
-
Window Snapping: Enable snapping features to quickly position windows in predefined areas.
10. Troubleshooting Common Issues
-
Undetected Monitors: Ensure all cables are securely connected. Update graphics drivers if necessary.
-
Incorrect Resolutions: Adjust display settings to match the native resolution of each monitor.
-
Performance Lag: Verify that your hardware meets the demands of a multi-monitor setup. Close unnecessary applications to free up resources.
11. Advanced Configurations
-
Docking Stations: For laptop users, docking stations can simplify connections and support multiple monitors.
-
USB Adapters: USB-to-HDMI or USB-to-DisplayPort adapters can add additional monitors if your graphics card lacks sufficient ports.
-
Wireless Displays: Some modern monitors support wireless connections, reducing cable clutter.


Leave A Comment
You must be logged in to post a comment.