
This guide offers a comprehensive overview of how to effectively utilize a webcam for video conferencing, ensuring a smooth and professional online communication experience. It includes step-by-step instructions covering essential aspects such as setting up the webcam, adjusting lighting and audio settings, and optimizing your background for a polished appearance. By following these guidelines, users can enhance their virtual presence and engage more effectively in video calls.
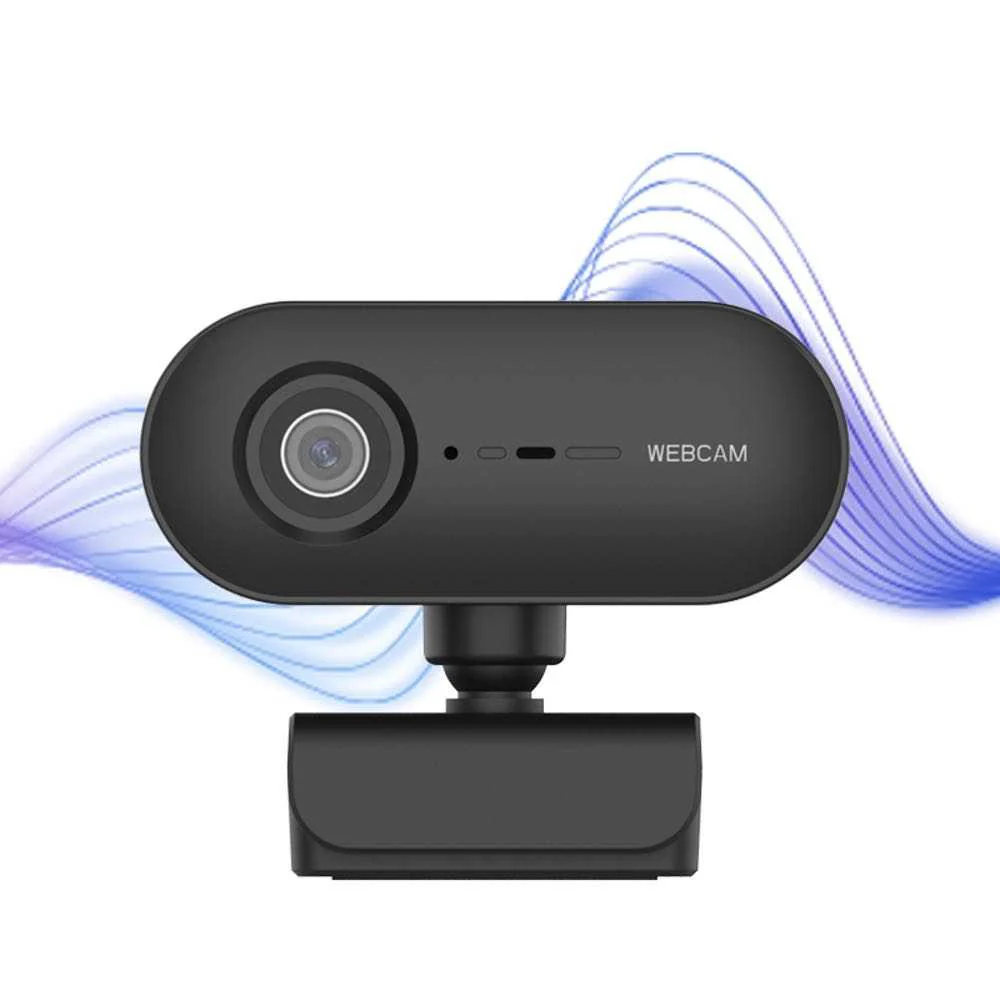
Choose the Right Webcam
Assess your needs based on how you plan to use the webcam. Prioritize resolution, aiming for at least 1080p for clear video quality. Consider frame rates, opting for 30fps or higher for smooth motion during video calls or streaming. Evaluate built-in features like microphones and autofocus, ensuring they enhance your video experience without requiring additional equipment.
Install the Webcam
- Connect the webcam to your computer using a USB cable or the specific connection required for your device.
- Ensure the cable is securely plugged into both the webcam and the appropriate port on your computer.
- Refer to the manufacturer’s instructions for detailed steps on installing the necessary drivers or software.
- Follow any on-screen prompts during the installation process to complete setup successfully.
Install Necessary Drivers
- Check the manufacturer’s website for the latest drivers and software specific to your webcam model.
- Download the appropriate files to your computer, ensuring compatibility with your operating system.
- If your webcam came with a CD, insert it into your computer and follow the on-screen instructions to install the drivers.
- Restart your computer after installation to ensure the drivers are properly configured and ready for use.
Position the Webcam
Adjust the webcam’s position for optimal framing by raising or lowering it until it meets eye level. Point the camera directly at your face to ensure you are centered in the frame. Avoid angles that create unflattering perspectives, such as looking up or down at the camera. Check the image on your screen and make fine adjustments as needed for a polished and professional appearance.
Test the Webcam
Open your preferred video conferencing application, such as Zoom, Microsoft Teams, or Skype. Select the option to start a new meeting or join an existing one, and ensure your webcam is selected as the video source in the settings. Observe the video feed to check the quality—look for clarity and smoothness. Adjust your lighting if necessary, ensuring that your face is well-lit and visible. Speak into the microphone and listen for the audio to confirm that sound is clear and free of any echo or distortion.
Adjust Video Settings
- Access your conferencing software’s settings menu and locate the video settings section.
- Adjust the resolution to match your internet speed and hardware capabilities for optimal clarity.
- Modify brightness levels to ensure your face is well-lit without being washed out.
- Change contrast settings to enhance the distinction between your features and the background for better visibility.
- Test these adjustments by starting a video call with a friend or colleague to see how the changes look in real-time.
Check Your Background
Clear your space of any clutter or distractions that may detract from your professionalism during video conferencing. Arrange items neatly in the background, ensuring that only relevant and appropriate items are visible. If your background is still not suitable, explore options for a virtual background to maintain a polished appearance. Choose a virtual background that reflects a professional setting and test it beforehand to ensure it works well with your video feed.
Ensure Good Lighting
Position yourself in a well-lit area, ideally near a window that allows natural light to flood in. Adjust your seating so that the light hits your face directly, creating a warm and inviting atmosphere. If natural light is insufficient, incorporate additional lighting sources, such as soft lamps or ring lights, to brighten your face without creating harsh shadows. Ensure that lighting is diffused to avoid any glare, and experiment with the angles until you achieve a flattering and even illumination.
Practice Good Communication Etiquette
Maintain eye contact with the camera to create a sense of connection with your audience. Speak clearly and at a moderate pace to ensure your message is easily understood. Minimize distractions by choosing a quiet environment, silencing notifications, and decluttering your background. Engage actively by nodding and using facial expressions, which can enhance the overall communication experience.

Maximizing Your Video Experience
In conclusion, by adhering to the guidelines we’ve outlined, we can all enhance our video conferencing experiences significantly. A well-set-up webcam not only improves our communication clarity but also contributes to a more professional presence in virtual meetings. With the right technical adjustments and etiquette, we can foster engaging and productive interactions, making our online collaborations as effective as possible. Let’s embrace these practices to elevate our virtual communication to new heights!
Essential Equipment List
Maximize Your Video Quality
Essential Tips for Maximizing Your Computer Accessories and Peripherals
- Start with the Basics: Familiarize yourself with essential peripherals like a keyboard, mouse, and monitor. We can practice typing and navigation to get comfortable with how they work together
- Connect Your Devices: When adding new accessories, such as printers or external hard drives, we should ensure they are properly connected. Most devices will have user-friendly instructions for plugging in and setting up
- Explore Functionality: Let’s take some time to explore the additional features of our accessories. For example, many mice have extra buttons for shortcuts, and keyboards may have multimedia controls. We can experiment with these to enhance our efficiency
- Install Drivers and Software: Some peripherals may require specific drivers or software to function correctly. We can check the manufacturer’s website for downloads and follow the installation instructions to ensure everything runs smoothly
- Regular Maintenance: We should remember to keep our accessories clean and in good condition. Regularly dusting our keyboard and mouse, and managing cables can help prolong their lifespan and keep our workspace tidy
- By following these simple steps, we can make the most out of our computer accessories and peripherals!

Essential Gear for Enhanced Performance
The purpose of a keyboard is to serve as an input device that allows us to input text, numbers, and commands into a computer or other devices. It’s an essential tool for a variety of tasks, whether we’re writing documents, programming, gaming, or navigating software applications.
When it comes to the types of keyboards available, there are several categories we can consider:
- Mechanical Keyboards: These use individual mechanical switches for each key, providing tactile feedback and durability. They are popular among gamers and typing enthusiasts.
- Membrane Keyboards: These are typically quieter and more affordable than mechanical keyboards. They use a pressure pad system, which means the keys don’t have individual switches.
- Rubber Dome Keyboards: A subtype of membrane keyboards, they use rubber domes under each key. They tend to be quieter and less expensive, but may not offer the same tactile feel as mechanical keyboards.
- Wireless Keyboards: These connect to devices via Bluetooth or a wireless USB receiver, offering more flexibility and reducing cable clutter.
- Ergonomic Keyboards: Designed to reduce strain on our hands and wrists, these keyboards often have a split design or a curved layout.
- Gaming Keyboards: Tailored specifically for gamers, these often feature mechanical switches, customizable keys, RGB lighting, and programmable macros.
- Virtual Keyboards: These are software-based keyboards found on touchscreen devices, allowing us to type without a physical keyboard.
- Compact and Portable Keyboards: These are smaller and lighter, designed for ease of transport, making them perfect for on-the-go use.
Each type of keyboard has its unique features and benefits, so we can choose one based on our specific needs and preferences!
How do USB hubs work, and why might someone need one?
USB hubs are devices that expand the number of USB ports available on a computer or other devices. They connect to a single USB port and provide multiple additional ports, allowing us to connect several USB devices simultaneously. This can be especially useful given that many computers, especially laptops, come with a limited number of USB ports.
When we plug a USB hub into our computer, it communicates with the system to manage the data transfer between the connected devices and the computer. Hubs can be powered or unpowered; powered hubs have their own power supply, allowing them to support devices that require more power, like external hard drives, while unpowered hubs rely on the power from the computer’s USB port.
So, why might we need a USB hub? There are several reasons:
- Limited Ports: As we add more devices, like keyboards, mice, printers, and external storage, we often run out of available USB ports.
- Convenience: A hub can help organize our workspace by providing a central location for all our USB connections, reducing clutter.
- Accessibility: Some USB hubs are designed to be more accessible, with ports located in easy-to-reach places, which can make connecting devices much simpler.
- Data Transfer: For those of us who frequently transfer data between devices, a hub can streamline the process by allowing multiple devices to connect simultaneously.
Overall, USB hubs are an excellent solution for enhancing our connectivity options and making our digital lives a bit easier!


Anyone else struggle with camera angles? I feel like I’m always looking up someone’s nose. 😂
😂 You’re not alone! Camera angles can be tricky, but a simple fix is to place your camera at eye level using a stand or stack of books. It makes all the difference!
Good read! I’m definitely going to follow these pointers for my next video interview.
Thank you! Glad you found the tips helpful. Best of luck with your next video interview—nail it with confidence!
Thanks for the reminder to check the background! I need to clean up my room before my next meeting.
You’re welcome! A tidy background makes a big difference in leaving a professional impression. Good luck with your next meeting!
Lol, I love the part about avoiding distractions. My cat always tries to jump on my lap during calls!
Haha, pets definitely have impeccable timing! Keeping distractions minimal is key, but cats always seem to have their own agenda!
I appreciate the suggestion to test the webcam before the call. Saves so much time!
Testing the webcam beforehand is a game-changer, isn’t it? It’s great to hear the tip saved you time!
Great tips! I never thought about lighting before, but it makes such a difference!
Absolutely! Lighting can transform your video quality. A well-lit space ensures you always look your best during calls. Glad you found the tips helpful!