
Registry tweaks, game mode settings, and background app control.
Whether you’re into competitive eSports titles or exploring expansive RPGs, gaming performance matters. You don’t always need new hardware to get a better experience—tweaking a few Windows settings can improve frame rates, lower latency, and give you smoother gameplay. This guide covers the key adjustments you can make on Windows 10 and 11 to optimize your system for gaming.
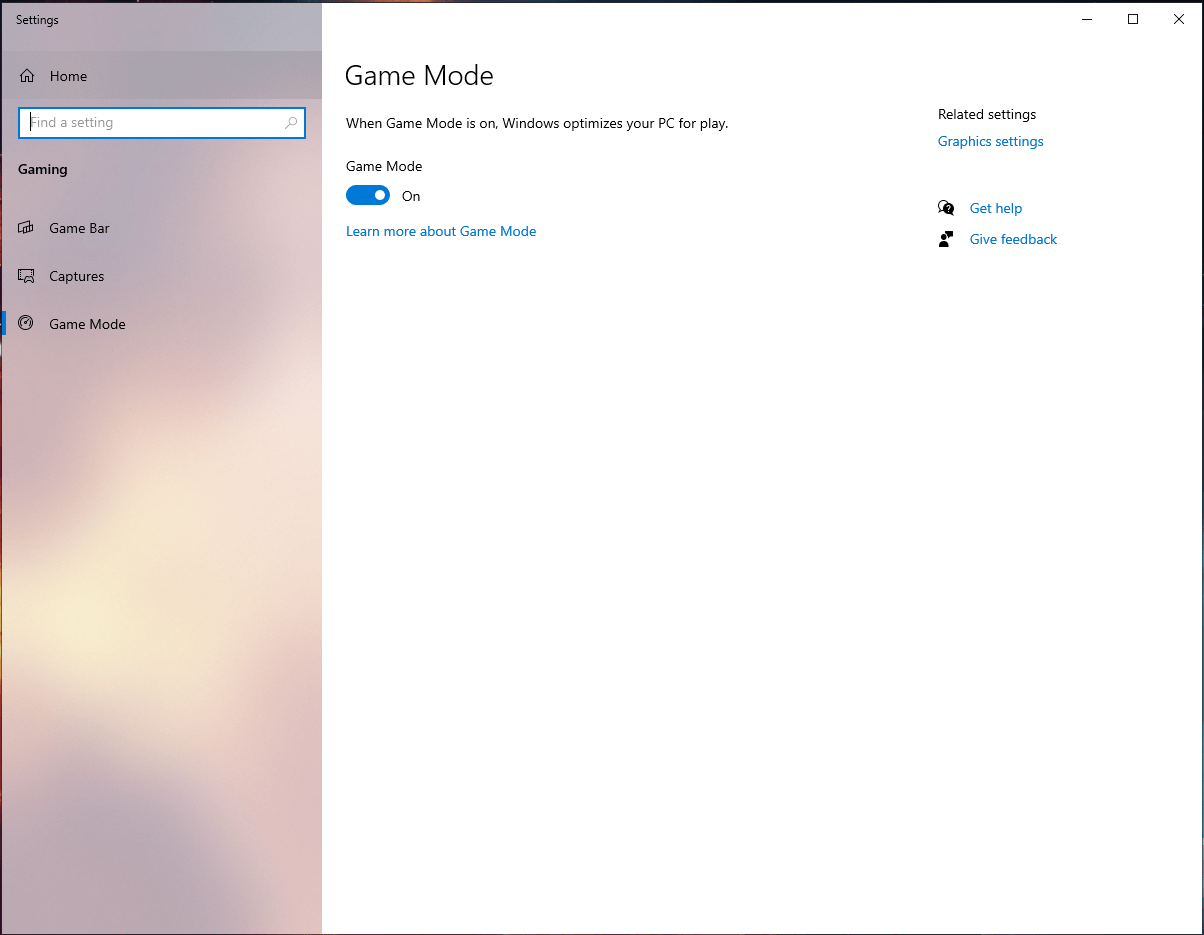
1. Enable Game Mode
Game Mode in Windows automatically optimizes your system while gaming by allocating more resources to your game and limiting background activity.
To enable it:
-
Go to Settings
-
Click Gaming
-
Select Game Mode
-
Turn the toggle to On
This setting minimizes interruptions from Windows updates and notifications while prioritizing gaming performance.
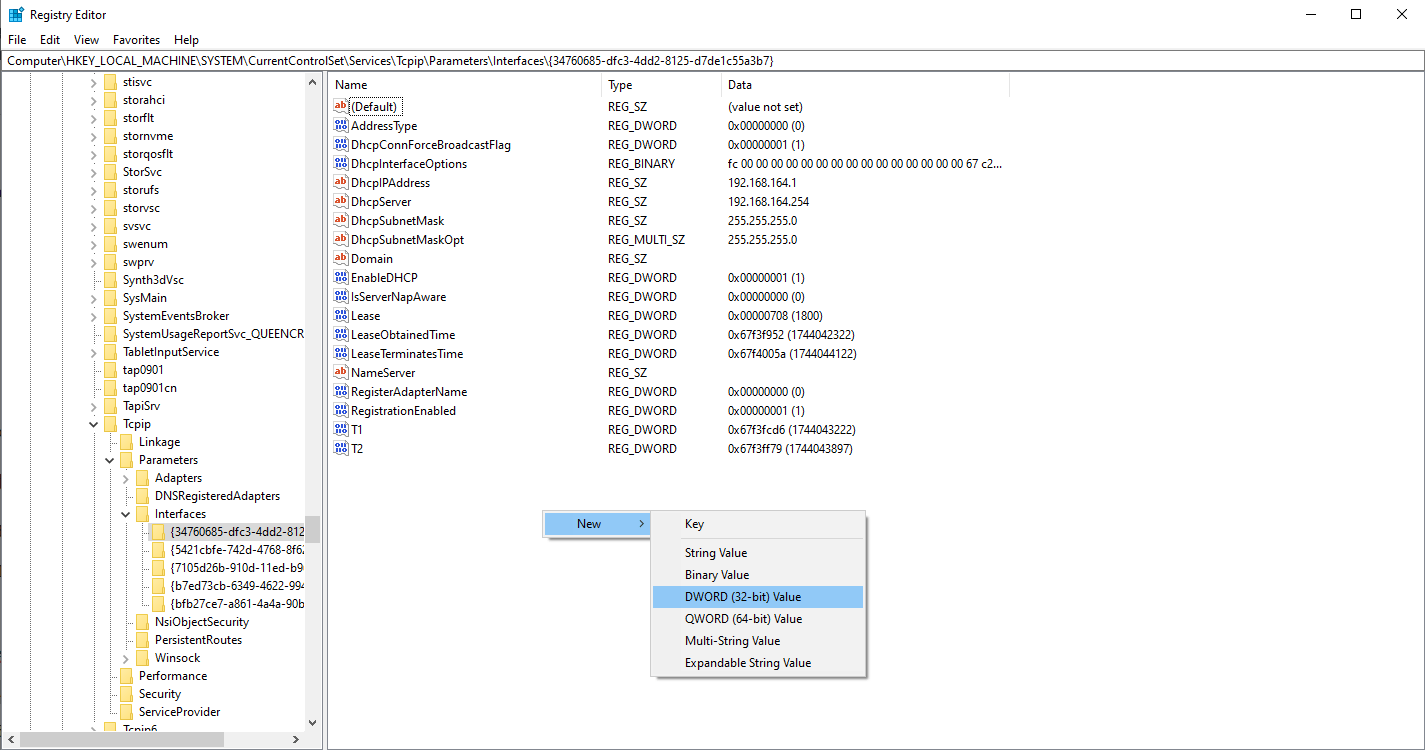
2. Registry Tweaks to Reduce Latency
Making a few changes to the Windows Registry can improve network performance, especially in online games. Before making any changes, it’s important to back up your registry.
One useful tweak is disabling Nagle’s Algorithm, which can introduce latency.
Steps:
-
Press Windows + R, type
regedit, and hit Enter -
Navigate to:
HKEY_LOCAL_MACHINE\SYSTEM\CurrentControlSet\Services\Tcpip\Parameters\Interfaces -
Locate the folder corresponding to your active network adapter
-
Right-click and create two new DWORD (32-bit) values:
-
TcpAckFrequency– set the value to 1 -
TCPNoDelay– set the value to 1
-
-
Restart your PC
These settings help improve network responsiveness in online games.
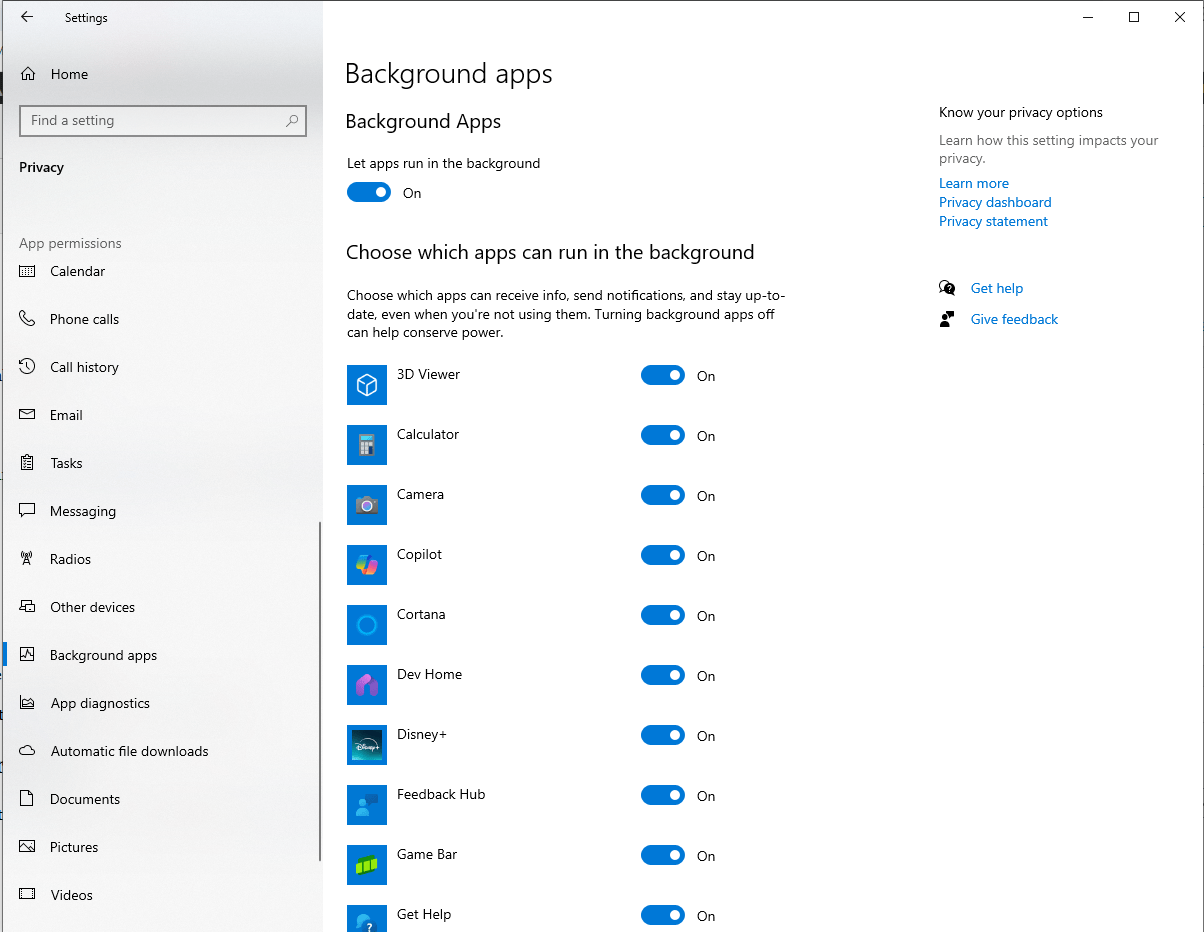
3. Disable Background Apps
Background apps consume memory, CPU, and internet bandwidth. Disabling them frees up system resources for your game.
To disable:
-
Open Settings
-
Click Privacy
-
Select Background Apps
-
Turn off “Let apps run in the background” or disable specific apps
Only keep essentials like game clients or chat apps (e.g., Steam or Discord) active if needed.
4. Adjust Visual Effects for Performance
By default, Windows includes animations and visual effects that can consume GPU and CPU resources. Disabling them improves overall performance.
Steps:
-
Right-click on This PC and select Properties
-
Click Advanced system settings
-
Under the Performance section, click Settings
-
Choose “Adjust for best performance” or manually disable individual effects while keeping necessary ones like smooth font edges
This helps your system allocate more power to your games instead of Windows visuals.

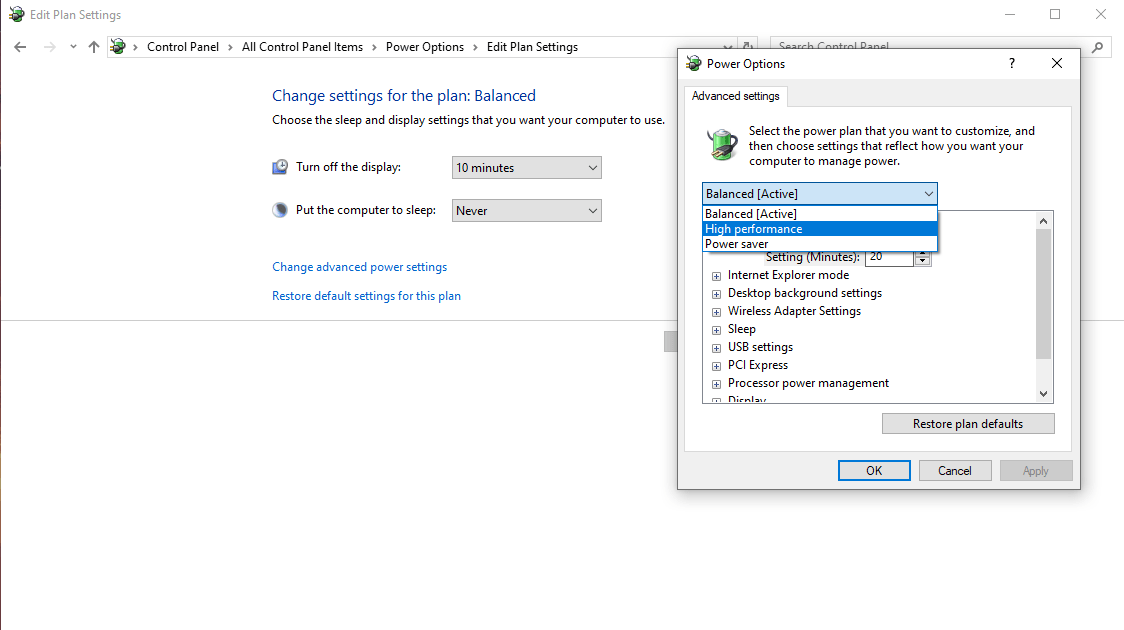
5. Set Your Power Plan to High Performance
Power-saving modes limit system performance. Switching to a high-performance plan ensures your CPU and GPU run at full speed.
To switch:
-
Go to Control Panel
-
Select Power Options
-
Choose the High Performance plan
Laptop users should play while plugged in to avoid power limitations.
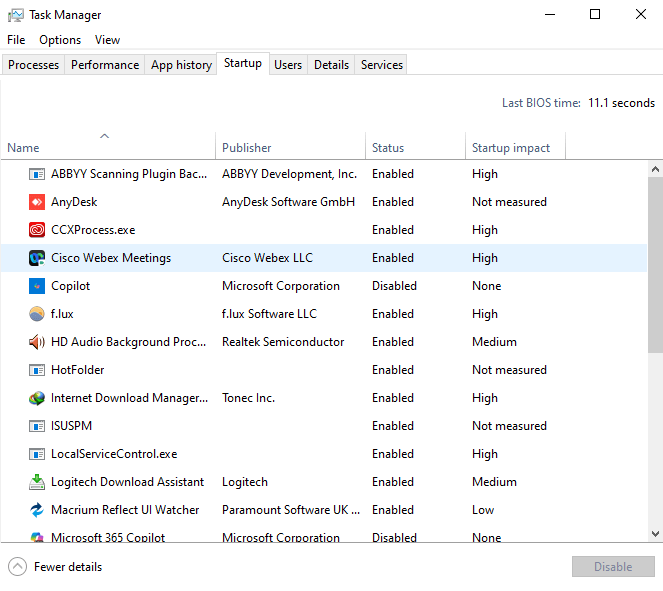
6. Disable Unnecessary Startup Programs
Many programs launch automatically when your PC boots up, consuming valuable resources in the background.
How to disable them:
-
Press Ctrl + Shift + Esc to open Task Manager
-
Go to the Startup tab
-
Right-click and disable apps you don’t need running at startup
Disabling heavy or unused apps will improve system boot time and free up memory for gaming.
7. Keep Your Graphics Drivers Updated
Outdated GPU drivers can cause performance issues or prevent games from running optimally. Regular driver updates ensure compatibility with new games and enhancements.
Use your GPU vendor’s official software to update:
-
NVIDIA: GeForce Experience
-
AMD: Adrenalin Software
-
Intel: Driver & Support Assistant
Always download updates from the official website or via these tools to avoid compatibility issues.
8. Disable Xbox Game Bar and Captures
If you don’t use Xbox Game Bar, it’s better to turn it off. It can run in the background and impact performance, especially when capturing gameplay.
To disable:
-
Go to Settings
-
Click Gaming
-
Select Xbox Game Bar and turn it off
-
Then go to Captures and disable background recording
This frees up resources and prevents unexpected recording activity while gaming.
9. Clean Up and Optimize Your System
Clearing temporary files, defragmenting (for HDDs), and optimizing your SSD can keep your system running efficiently.
Tips:
-
Use Disk Cleanup to remove unnecessary files
-
Use Windows Optimize Drives to defragment or trim your storage
-
Ensure your antivirus is not running full scans during gameplay
Avoid installing unnecessary software and always monitor system resources via Task Manager if you suspect slowdowns.
Final Thoughts
Optimizing your Windows PC for gaming doesn’t require expensive upgrades. By enabling Game Mode, adjusting system settings, disabling background tasks, and keeping drivers updated, you can significantly boost performance and get the most out of your existing hardware.
These small changes can lead to noticeable improvements in frame rates, responsiveness, and loading times.
Want even more performance? Consider upgrading your storage to a fast M.2 SSD or increasing your RAM. We also have articles covering those upgrades in detail.


Leave A Comment
You must be logged in to post a comment.